When we did our Little Bathroom Project (see here if you haven’t read this), I wanted an updated look to the builder grade mirror that was glued to the wall without going to the trouble of removing the existing mirror. We decided to “frame out” the mirror using molding. If you’ve been reading about this project, you may be tired of it; but if you’re going to try a project like this, you should read on. It could save you some trouble.
We searched on the internet and found several success stories, but we also found some failures. My favorite blogger, because she is entertaining, resourceful, talented and funny is Rhoda of Southern Hospitality. One of Rhoda’s most popular posts is on the subject of placing molding on a mirror. She was successful. Here it is if you haven’t seen it.
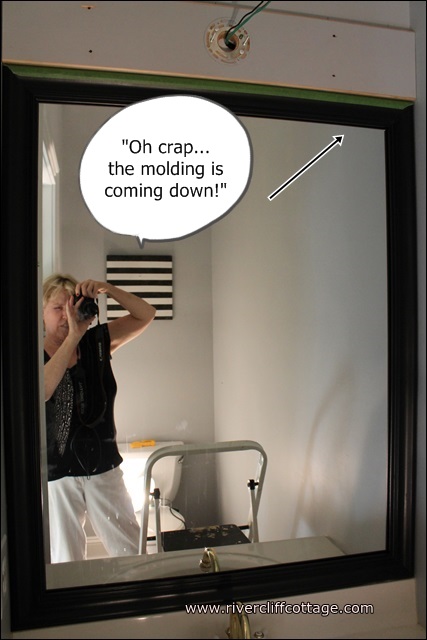
The most difficult part of this project was getting that molding to stay in place long enough to dry and adhere to the slick mirror. We tried several things including Liquid Nails for Glass and for Mirrors. Gravity was working against us, and I did not want to spend the entire night in the bathroom holding up molding! The picture below was our first try. We mitered the ends on this try. Look at the top…it was sagging…and this was after all the work when we thought it was done!!! I said the crap word, and I won’t tell you what Mike said, other than it started with an “S”.

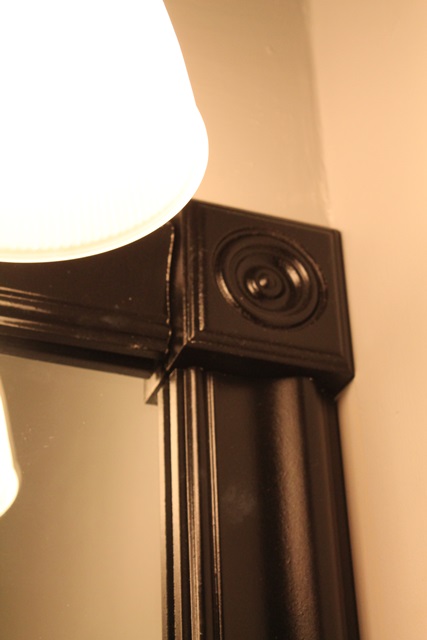
It actually fell down right after this picture was made and the ends got banged up, so we changed gears and used four blocks and four pieces of molding. More cutting and more painting. However, it was easier than doing the miter thing again, and we felt the blocks might add stability. Here it is again…with the blocks. I called these “ladies breast blocks” for obvious reasons.

And now, here’s Mike’s solution to ensure that the molding that you’ve so carefully painted and cut will stay attached to the mirror! This can save you some heartache. He said no one should have to watch their pretty, mitered wood fall into the sink!
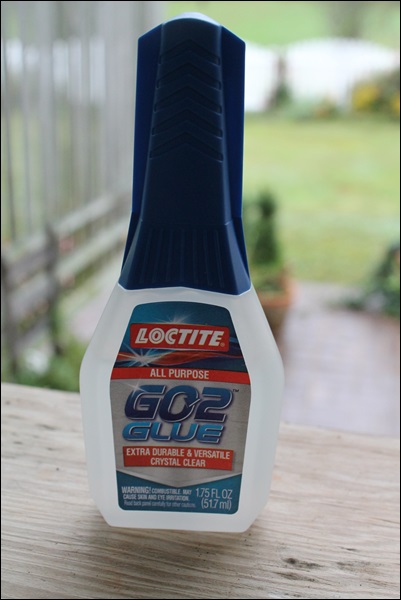
Mike came to the conclusion that there is not just ONE solution for effectively installing molding over a mirror. It is actually a two-fold solution — using TWO types of adhesive. One adhesive is for quick trying (hot glue) and the second for the strength to hold that mirror up for a long time. Both of these glues must dry clear because of the reflective quality of the mirror. Mike used about 80% Loctite GO2 Glue and about 20% glue from my cheap craft glue gun. This works!!

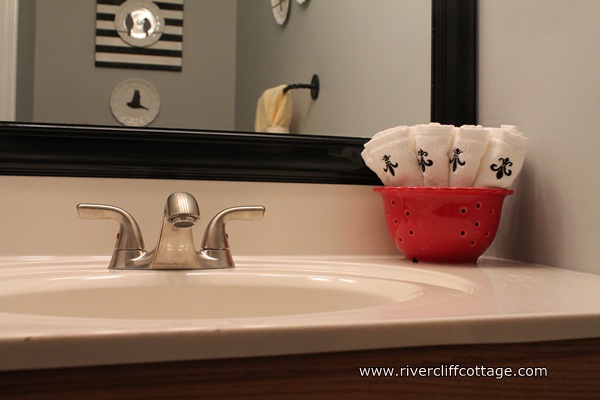
We were afraid to use only hot glue because it becomes brittle over a period of time. Have you ever used hot glue on something and it works fine for a few days and then things start falling off? With two types of adhesive, our molding was easy to place on the mirror (didn’t have to hold it up there forever) and should last. Here’s the pretty frame…

If you are not mitering your corners and use corner blocks like we did, put them on first. We also added a little tape until they were good and dry just as insurance. I did not want the block to come tumbling down and getting glue everywhere. These blocks offer support for those long, vertical and horizontal pieces that just want to fall down and make you cuss.
Last, and Rhoda mentions this…paint both sides of your molding when framing a mirror. We started this and only painted one side. When the molding was held into place on the mirror (simply holding by hand to see how it fit…not when we were gluing thank goodness!), the unpainted side actually reflected in the mirror.
Thank you for reading RiverCliff Cottage. If you read this and have questions, just email me!
![]()

Yay, Eva! So glad you got that project done. I had a bit of problems with some of my pieces falling down after hot gluing, but they finally stayed in place with liquid nails too. Some of that hot glue would not release and it grabbed like crazy, but then other people have said it didn’t for them. So you are right, there are several methods of adhesion. Glad you found a good combo. I have no idea if that old molding is still staying up in my old house, the new owners will have to deal with it now! 🙂
Rhoda…thank you for commenting! You are the BEST!
Read this to Billy. Trying to teach him new tricks!!
Patsy…all he’s going to want to learn are dirty words!!
Excellent post but I was wanting to know if you could write a litte
more on this subject? I’d be very thankful if you could elaborate a little bit more.
Thanks!
THANK YOU. I would have forgotten to paint the backside of the trim, and wouldn’t have thought of the 2-glue method. It worked wonderfully.
You are welcome!